Marble tiles have long been a favorite choice for homeowners and interior designers. Their sleek, sophisticated appearance adds timeless beauty to any space, whether it’s a modern kitchen or a luxurious bathroom. Yet, some may shy away from them, believing that installing and maintaining marble tiles is a challenging process. It doesn’t have to be. With the right tools, techniques, and a little know-how, you can install and care for marble tiles without breaking a sweat. Here’s how.
Preparing for a Flawless Installation
Before you start cutting tiles or spreading adhesive, preparation is key. Installing marble tiles is a delicate process that requires precision at each step. Here’s how you can make the prep stage smooth and stress-free.
1. Choose the Right Type of Marble Tile
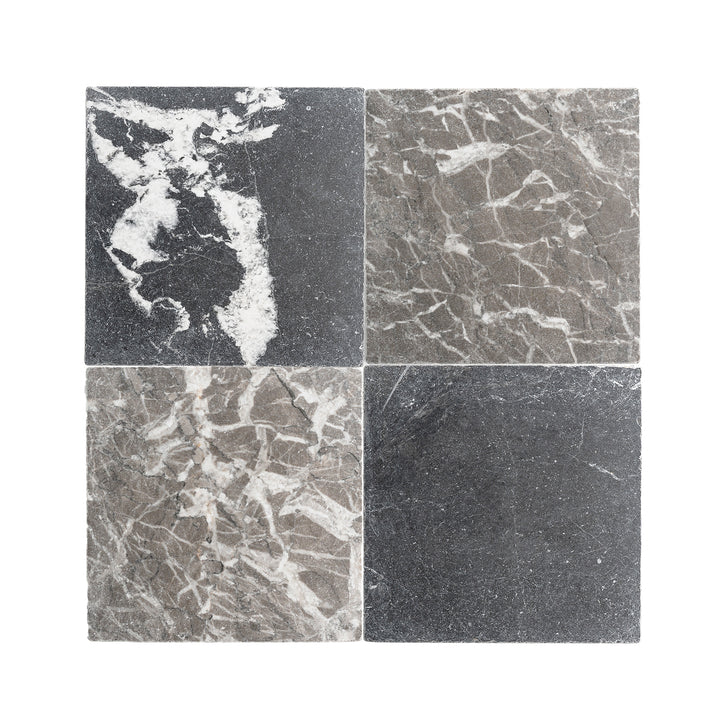
Marble tiles come in various finishes, patterns, and thicknesses. Popular finishes include polished (high gloss) for a shiny look, honed for a matte finish, and tumbled for a rustic, aged appearance. When selecting tile, consider the room where it will be installed. For example:
- Polished marble is perfect for walls or low-traffic areas to maintain its shiny, flawless finish.
- Honed marble is ideal for floors as it offers better slip resistance and hides scratches better than polished tiles.
2. Gather the Right Tools and Materials
To make this process as seamless as marble itself, you’ll need some essential tools and supplies:
- A high-quality tile cutter or wet saw for precise cuts.
- Tile adhesive and a notched trowel to apply it.
- Grout in a color that complements your marble.
- Sealant to protect the tiles from stains and etching.
Pro Tip: Always wear safety gear, such as gloves and safety goggles, during installation to avoid injuries while cutting or handling marble tiles.
3. Prepare and Level the Surface
For marble tiles to look remarkable, you must ensure the subfloor is even and clean. Any bumps, dips, or debris can result in uneven tiles or a weak bond between the surface and the adhesive. Use a leveling compound to fill in any gaps, and clean the surface thoroughly before proceeding.
If the subfloor is uneven, your beautiful marble tiles will lose their symmetry—something you want to avoid entirely with such a premium material.
Installing Marble Tiles Like a Pro
Once your surface is prepared, it’s time to install the tiles. Precision and patience will make all the difference here.
1. Dry Fit the Tiles Before You Begin
Dry fitting means laying the tiles on the surface without adhesive to plan your layout. This helps you visualize the final look and adjust for any tricky corners or cuts. Start with a focal point, usually the center of the room, and work outward to keep symmetry.
2. Apply the Adhesive
Spread your chosen tile adhesive evenly across a small section of the surface using a notched trowel. Make sure to work in sections, as adhesive dries quickly. Press the tiles into place firmly but gently, ensuring each one is level.
Pro Tip: If you’re working with veined marble, align the veins in the same direction for a cohesive, natural look.
3. Leave Grout Spaces and Use Spacers
Marble tiles require precise grout spacing to maintain a clean, professional appearance. Use tile spacers to create even gaps between tiles. These gaps not only help with alignment but also allow room for the grout, which is essential for durability.
4. Grout the Tiles After 24 Hours
Wait at least 24 hours for the adhesive to set before grouting. Mix the grout as per the manufacturer’s instructions and apply it evenly using a grout float. Wipe away excess grout with a damp sponge, ensuring it doesn’t stain the marble’s surface.
5. Seal the Marble Tiles
One of the most critical steps after installation is sealing the tiles. Marble is a porous material, meaning it can absorb liquids and stains over time. Use a high-quality marble sealant to protect the tiles from water, oils, and acidic substances. It’s best to reseal the tiles once a year to maintain their durability.
Tips for Caring for Your Marble Tiles
Once the marble tiles are installed, proper care will help preserve their natural beauty for years. Keep these maintenance tips in mind:
1. Use pH-Neutral Cleaners
Harsh cleaners with acidic ingredients like vinegar, lemon juice, or bleach can damage marble by causing etching or dullness. Instead, use pH-neutral cleaners specifically formulated for marble.
2. Clean Spills Immediately
Because marble is porous, it can absorb spills, leading to stains or damage. Clean up coffee, wine, or oil spills as quickly as possible to prevent permanent marks.
3. Dust and Mop Regularly
Dust and dirt can scratch the surface of marble tiles over time. A soft microfiber cloth or dust mop will help keep your tiles looking pristine. Avoid heavy-duty vacuum cleaners that could accidentally scratch the surface.
4. Place Rugs in High-Traffic Areas
To protect marble floors in high-traffic areas, use rugs or mats. Not only do they prevent wear and tear, but they also reduce the risk of slipping on polished marble tiles.
5. Reseal Annually
To maintain the integrity and appearance of your marble tiles, reseal them at least once a year. This will keep them resistant to stains and make cleaning easier.
The Final Touch
Marble tiles are an investment in elegance and sophistication, and installing them doesn’t have to be a daunting task. With proper preparation, smart tools, and ongoing care, maintaining their timeless beauty becomes effortless. Follow these simple steps, and your marble tiles will add value and aesthetic appeal to your home for generations to come.
Whether you’re tackling a daring DIY project or hiring professionals, these tips will guide you through installation and care with ease. The result? A flawless, luxurious finish that brings your space to life.