AI video tools have a funny effect on people. At first, everyone’s curious. Then they try it once, get something weird, and quietly close the tab. And then, a week later, they’re back again. Because the idea is too tempting: type a concept, get a scene. Or upload an image and watch it move. That’s not just “cool tech”, it’s time-saving, inspiration-friendly, and a little addictive in the best way.
Still, the real challenge isn’t finding the tool. It’s learning to control it.
If you’ve been searching for how to use Google VEO 3, you probably want something more practical than vague promises. You want to know what to write, where to click, how to get output that doesn’t feel random, and how to stop wasting attempts on videos that look like they were made by accident. And that’s fair. Nobody wants to feel like they’re gambling with their own time.
Google Veo 3 is one of those tools that rewards patience, but not in a slow, boring way. More like learning a new camera. At the start, you get shaky footage. You blame the gear. Then one day you try something simple, and the result suddenly feels “right”. That’s the moment people realize Veo isn’t just generating visuals, it’s reacting to the instructions like a director’s assistant who’s trying to understand what you meant.
This guide is built for that kind of learning curve. It’s not going to overcomplicate the basics, but it won’t treat you like a beginner either.
You’ll learn how Veo thinks, how to structure prompts, how to use image-to-video properly, and how creators are getting more consistent results without doing a hundred retries. Because once it clicks… it really clicks.
What Google Veo 3 Is And What It’s Actually Good At
Google Veo 3 is basically a video generation model designed to translate creative intent into motion. That phrase “creative intent” matters. You’re not only describing objects or places, but you’re also describing what’s happening inside the frame. Movement, pacing, atmosphere. The tool tries to turn that into a short video clip that looks like it belongs in a real scene, not just a slideshow that learned to wiggle.
It’s useful to think of Veo like a smart assistant that understands film language more than people expect. If you say “slow cinematic push-in” or “handheld camera feel,” it tries to respect that. It might not always get it perfect, but the attempt itself changes the experience. You’re no longer just generating content, you’re directing it.
Where Veo shines is in consistency. Earlier AI video tools often struggled with continuity, meaning faces changed, backgrounds morphed, and objects shifted position for no reason. Veo aims for steadier subject structure and smoother motion. That doesn’t guarantee flawless output, but it gives you a stronger base to iterate on.
Also, it’s oddly good for concept testing. Like when you don’t want a final product yet, you just want to see if an idea has potential. Maybe you’re writing a short film. Or building an ad concept. Or simply trying to visualize a scene for a story. Veo makes that first step fast, and that speed has real value.
The Simple Mental Model That Makes Veo Easier
Here’s a small shift that helps a lot: stop thinking of Veo as “video generator” and start thinking of it as “moment simulator.” You’re describing a moment unfolding over time. Even if it’s only a few seconds long, it still has a beginning, a middle, and an end. Tiny story logic.
People often type prompts like “a beautiful city skyline at night” and feel disappointed when the output looks generic. That happens because there’s no action. Nothing changes. It’s a postcard. Veo can generate that, sure, but the output won’t feel alive because you didn’t give it life to work with.
Instead, describe what the camera is doing and what the scene is doing. Is the camera drifting forward? Is there rain? Are the lights flickering? Is someone crossing the street? That’s when the clip starts feeling like a real piece of video rather than a moving wallpaper.
This also explains why creators get better results with fewer words sometimes. Short prompts can work if the action is clear. Long prompts can fail if they’re detailed but directionless. That’s the difference between listing “things” and describing “events.”
Once you adopt this mindset, Veo becomes less random. Not perfectly predictable, no. But it stops feeling like guesswork and starts feeling like a creative back-and-forth.
How To Write Prompts That Don’t Feel Random
Prompts are everything, but not in the “use more adjectives” way. The best prompts are structured like real production directions. Even if you’re not a filmmaker, you know how scenes work. You’ve watched enough movies, you feel the rhythm intuitively.
A strong prompt usually has four ingredients: setting, subject, motion, and camera. And mood, if you want to make it cinematic instead of bland.
The setting can be simple. Don’t overload it. “A quiet coffee shop in the early morning” already tells Veo a lot. The subject can also be focused. “A person writing in a notebook” is enough. Then motion: “steam rises from a cup,” “light flickers from the window,” “the person looks up slowly.” Now camera: “slow dolly-in,” “shallow depth of field,” “soft cinematic lighting.” Now you have a scene, not a static picture.
A funny thing is, when prompts work, they almost read like a mini script. It’s not poetic. It’s functional. But it still has personality. And small specificity helps. Saying “a cat” is fine, but saying “a fluffy orange cat jumps on a windowsill” gives Veo a shape and action that’s easier to interpret.
Also, you can add pacing cues without sounding technical. “Slowly” changes everything. “Suddenly” changes everything. Those words are tiny, but they control the clip’s emotional tempo. And that’s what people actually want when they create video: tempo.

Building Better Results Through Iteration (Without Feeling Stuck)
Most people mess up iteration because they change too many things at once. They generate a video, don’t like it, and then rewrite the whole prompt like they’re starting over. That leads to chaos because you can’t learn what caused the improvement or the problem.
The better approach is to lock one variable and adjust one thing at a time. For example, keep the setting and subject, but change the camera. Or keep the camera, but change the motion. Or keep everything but change one word: “slow” to “steady,” “realistic” to “cinematic,” “warm lighting” to “neutral daylight.”
This isn’t just a technical strategy. It’s a mindset that makes the process calmer. Instead of chasing perfection, you’re nudging the model in a direction. You’re guiding it. And you’ll be surprised how often small edits create big improvements.
Also, don’t delete your “failed” attempts too quickly. Sometimes the second-best output has the best shot. Maybe the movement is wrong, but the lighting is perfect. Maybe the composition is amazing, but the character looks odd. You can reuse ideas from partial successes. That’s how creators work in real production, too. Scrap parts. Keep parts.
And yes, sometimes you just get a weird one. Veo has its own unpredictability. It happens. But the difference is, with a good prompt structure, weird outputs become rare instead of constant.
Getting Started With Veo 3 Image To Video Generation
The feature that gets people excited fast is VEO 3 image-to-video generation because it feels like instant magic. You upload an image, and it becomes a moving scene. And when it works well, it’s honestly impressive, because it looks like the image suddenly “breathes.”
But there’s a technique to getting good results here, and it starts with choosing the right image. The best images for image-to-video are those with one clear subject and a readable environment. Think: a person standing near a window, a car parked on a street, a product placed on a table, a landscape with a path. Images that already look like film stills tend to convert better.
Why? Because the model doesn’t have to invent structure. It already sees depth, light direction, and composition. So it can focus on adding motion rather than guessing where everything belongs.
Next, you want motion that matches the image. If your image is a calm portrait, don’t prompt “fast action chase scene.” The model will fight itself. Instead, prompt subtle movement. “Hair moves gently in the wind,” “soft camera push-in,” “light shifting slightly.” Those small motions look professional and natural.
Also, image-to-video works best when you treat it like animating a photograph, not replacing it. You want the original image to remain recognizable. When you push too hard, it starts morphing, and that’s when you get strange changes in objects or faces.
So the trick isn’t big movement. It’s a believable movement.
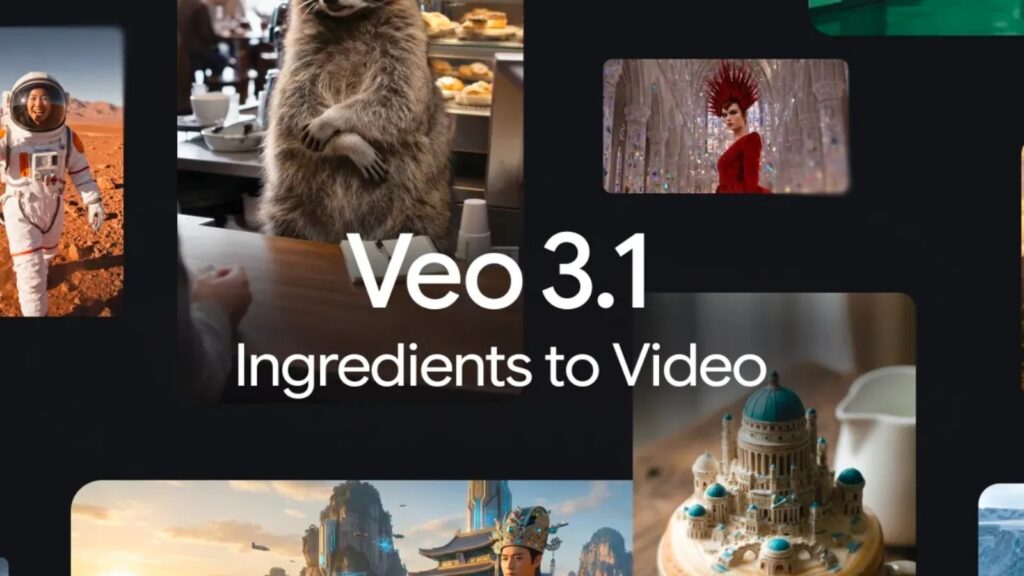
How To Access Google Veo 3.1 And The Free Options People Use
A lot of users ask how to use Google VEO 3.1 for free because the industry is moving in phases. Some people get access early through limited rollouts. Some access it through integrated platforms. Others use trial-based tools or features bundled into a subscription model.
Here’s the honest way to think about “free” access: it often means limited access. You might get fewer generations per day. Or shorter clip length. Or reduced resolution. Sometimes the interface may not expose every advanced setting. But for learning and experimenting, those free limits are often enough.
The best use of free access is practice. Build your prompt skill. Learn how Veo responds to different camera terms. Understand how motion behaves. Test image-to-video. Save outputs. Compare variations.
Because when you eventually use higher-quality settings or more advanced modes, you won’t waste attempts. You’ll already know what you’re doing. That’s the difference between someone who “tried” Veo and someone who can actually create with it.
Also, free access doesn’t mean low value. In a weird way, limitations force clarity. If you have only a few generations, you write better prompts. You plan your idea first. You stop throwing random text and hoping for the best. And that makes your results stronger.
The Camera Language That Makes Outputs Feel Cinematic
One of the fastest ways to improve Veo results is learning camera language. Not complicated stuff. Just simple directional terms that tell Veo how the viewer should experience the scene.
For example, “wide shot” feels different than “close-up.” A “wide shot” gives environmental context. A “close-up” gives emotion. “Shallow depth of field” creates that dreamy cinematic blur. “Handheld camera” adds slight imperfections that feel natural. “Slow pan left” creates a gentle motion without chaos. These aren’t fancy tricks. They’re basic film grammar.
If you’re unsure, think about how you’d describe a shot to a friend. “The camera slowly moves closer to the subject” is enough. You don’t need to sound like a director. But giving camera direction makes Veo consistent.
Lighting terms also matter. “Warm golden hour light” gives one a feeling. “Cold blue neon lighting” gives another. “Soft natural light from a window” makes scenes feel intimate. These cues shape the mood instantly.
What’s interesting is how small changes can shift the whole vibe. Even switching “sunset” to “overcast afternoon” changes the emotional temperature of a clip. That’s the kind of control creators want, and Veo is actually receptive to it.
Common Problems People Face And How To Fix Them
One common complaint is “the video looks like it’s melting.” That happens when the motion is too complex for the scene or when the prompt forces too many changes at once. If you want stability, reduce movement. Make the camera motion smooth and minimal. Keep the subject action simple.
Another issue is “the subject changes.” Faces, objects, or clothing suddenly look different mid-clip. This often happens when the prompt includes too many creative descriptors that conflict with each other. Like “realistic but cartoon, detailed but minimal, sharp but dreamy.” The model tries to satisfy everything and ends up inconsistent. Simpler descriptions = stronger continuity.
Sometimes the problem is pacing. The motion might feel too fast or too slow. You can fix that with a couple of words: “slowly,” “gentle,” “steady,” “cinematic,” or “subtle motion.” Veo responds to pacing cues more than people expect.
There’s also the “camera shakes for no reason” problem. If you didn’t ask for handheld motion, avoid words that imply chaos like “dynamic,” “energetic,” or “action-packed.” Those trigger more aggressive motion.
And honestly, one of the biggest fixes is choosing the right scene type. Veo performs better on natural scenes, controlled environments, and focused subjects. When you ask it to generate ten things happening at once, it’s like directing a movie with no rehearsal.
Real-World Ways Creators Use Veo Beyond Viral Content
Yes, people use Veo for social media clips. But the more interesting use cases are quieter. Designers use it to turn mood boards into moving references. Writers use it to visualize scenes and test emotional pacing. Marketers use it to prototype ad concepts before committing to filming.
There’s also a growing use in education and training. Imagine showing a concept as a moving visual instead of explaining it with static slides. It holds attention. It creates memory. Even a simple motion can improve comprehension.
And for small businesses, Veo can function as a creative accelerator. Not a replacement for professional work, but a way to explore ideas without spending a budget first. For example, testing what a product might look like in a lifestyle scene before scheduling a photoshoot.
The tool’s best strength is speed-to-visual. The time between idea and output is shorter than traditional workflows. That speed changes how people think creatively. You don’t just imagine. You try.
And trying leads to better ideas.
How To Make Your Veo Outputs Look Less “AI” And More Intentional
People often ask how to make AI videos look “less AI.” The answer isn’t filters. Its intention. AI videos look artificial when motion doesn’t match reality, when the camera behaves oddly, or when the scene lacks physical logic.
To make it feel more natural, keep movements grounded. If someone is walking, their walk should be slow and simple. If the camera is moving, make it steady and smooth. Avoid chaotic camera motion unless it’s intentional.
Also, natural scenes tend to feel more believable. A person at a window, a street scene, a product on a table with soft lighting. These are easy for Veo to keep coherent. High fantasy can work, but it risks weird artifacts unless handled carefully.
Small imperfections can help too. Not major glitches, but subtle real-world details like light flicker, slight fog, gentle wind. When those details exist, the clip feels “observed” rather than “generated.”
And if you’re using image-to-video, keep the identity stable. Don’t force sudden transformations. Smooth transitions look cinematic. Sudden shifts look synthetic.
In short, the secret is to direct the scene like it’s real. The more you treat it like real filming, the more natural the output becomes.
Conclusion
Google Veo is not just a fun tool you test once and forget. When used with a simple directing mindset, it becomes a practical system for generating motion-based ideas quickly and with surprising control. The biggest improvements come from writing prompts with clear action, guiding the camera, and keeping movement believable. Once you experiment with image-to-video workflows and understand how version access works, your results become less random and more intentional. And that’s when Veo starts feeling genuinely useful, not just impressive.